Friday, June 29, 2012

how to round a spine

After sewing the book knock it up in a laying press and glue the spine but do not glue the sewing threads. After that has dried, place the book on a flat surface with the spine away from you and secure the book flat with one hand. Gently but firmly hammer the spine towards yourself, flipping the book over at intervals to create an evenly rounded spine. Then mark the joint for your boards (about 3mm in from the spine) and place the book in the laying press with the 3mm lip exposed. 


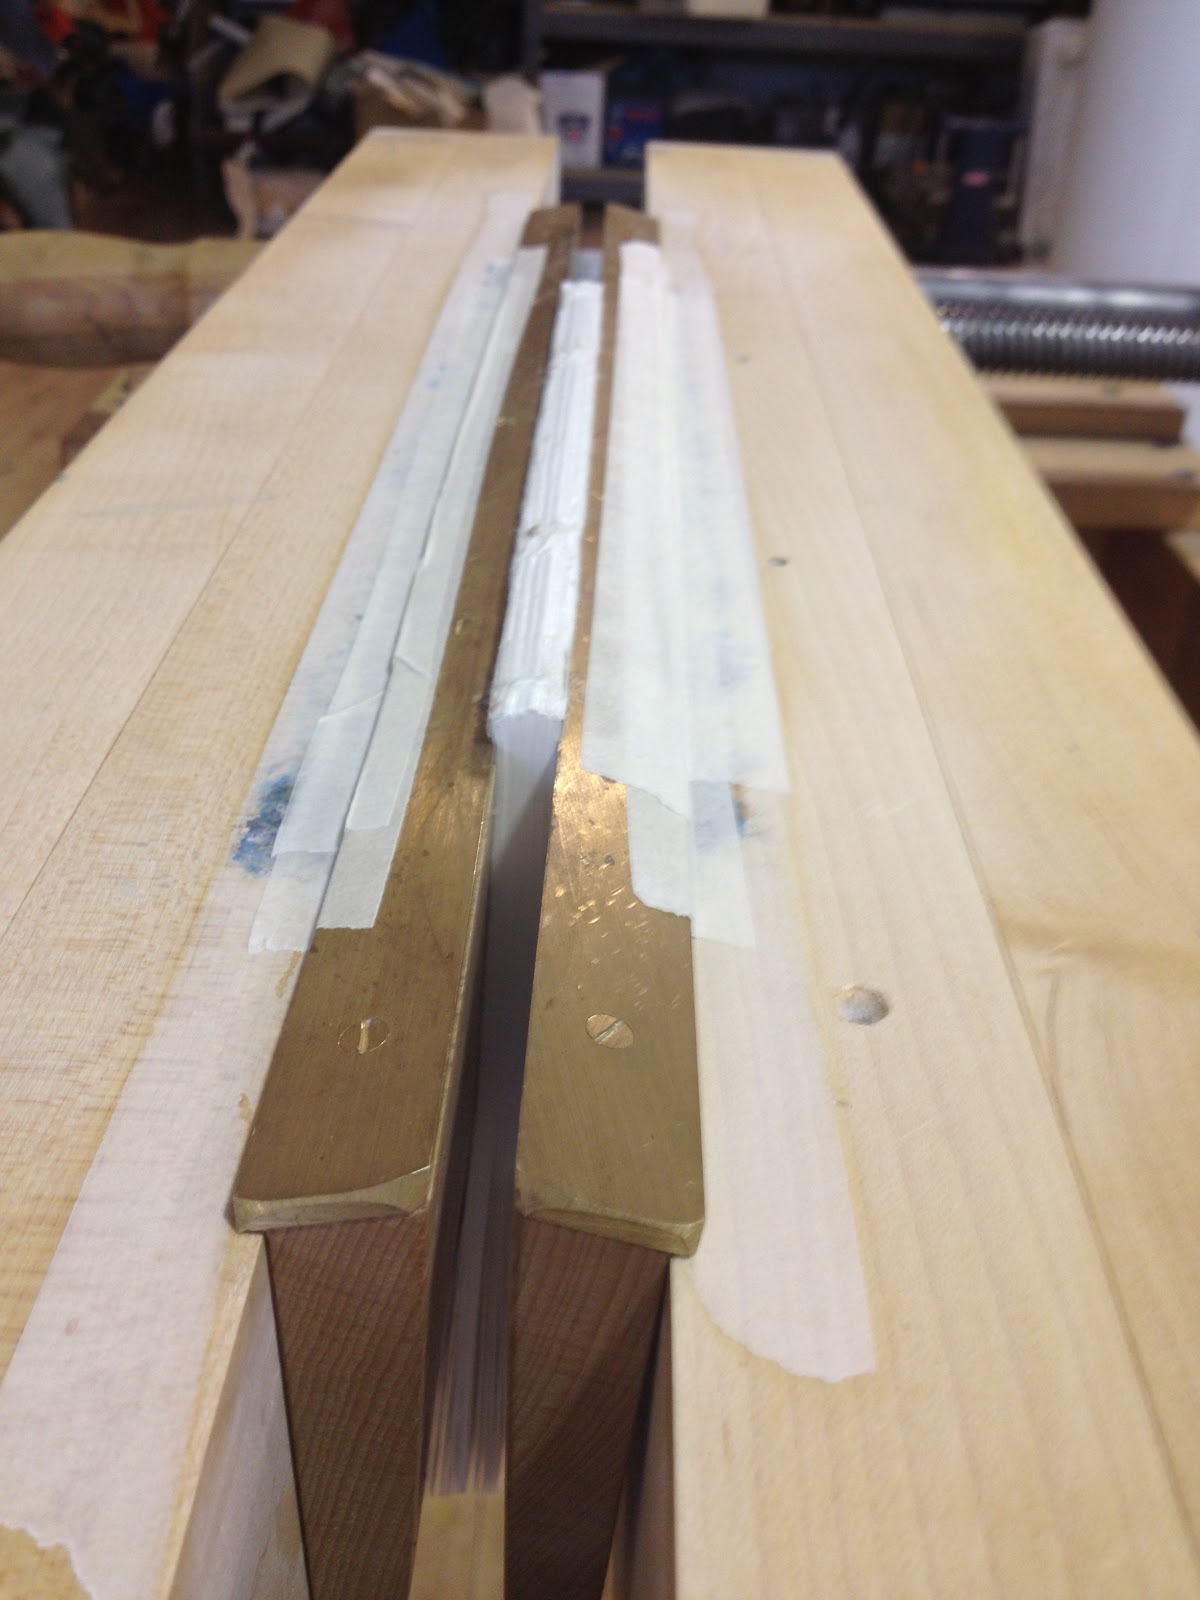
Using a backing hammer, begin at the side farthest from you and slowly, applying pressure, roll the hammer from the center of the spine to the edge. You want the hammer's edge to line up with the edge of the spine on each stroke. 


(roll from center to edge, lining up hammer/spine edges.) 


Turn and do the same thing in the other direction, rounding the spine from the center to the edge until both sides have been evenly rounded. Then using a gentle tapping motion even out the lines created by doing this. You should end up with a spine rounded over the sides to form a dome almost like a mushroom. 


Thursday, June 28, 2012

Tuesday, June 26, 2012

how to make a photo album / sewing a kettle stitch


When making a photo album you have to account for the thickness of the pages with photos added. In order to do this you create a lip on the edge of each folio. Use dividers or a ruler to measure about 3/4 an inch from the edge of  the paper and fold that in to create a lip. 


Stack and bind the pages together as if each folded lip was a whole page. This way for every long page there is a short strip of paper adding a page thickness below it. Then when photos are added the book will still remain flat and not become a bulging or "hungry" book. When pressing the book during casing in, fill in the blank spaces/recesses with paper or light weight cardstock so that the height is maintained without creasing, etc. 


SEWING IT:


Cut a piece of cardstock or heavy paper to the height and width of a folio/page in your book and fold it in half to match the pages. Mark in from the head and the tail, leaving slightly more room on the tail side for trimming. Typically about 10mm at the head and 15 mm at the tail is good. Split the difference of those two points and make a mark at  the center. Then from there, find the middle between the center/head and the center/tail. Mark this and create two equidistant holes on either side for sewing. Use an awl to perforate all of the holes except for the very center, which you will not sew through. You should end up with six holes- head/tail and two sets of holes about 10 or 15 mm apart in between. Use this awl guide to perforate all your signatures, making sure to keep them oriented the same way so all the head/tail marks go in the same direction when you sew.


To sew, put a board down and sit slightly to the left of your book. It feels a little awkward at first but ultimately will give you better leverage and lead to faster sewing. Thread your needle and pull it through the first hole on your left, closest to you. Thread in and out until you get to the end. Place another page on top, and go in through the closest hole ( the farthest from you on the right). When you come out through the next hole you should be above the thread from the previous page. In a downward motion, thread the needle behind the existing thread and back into the next hole closest to you.Continue until you get to the end and tighten the threads taking in any slack, then tie a knot. Add another page on top, and continue across in the same method. Always take the string closest to the hole you're about to thread into,aka the direction you're sewing, not the one below the hole you came out of.  It should look like this:
right


wrong

     not this: 


After each page is added place a piece of binder's board over the book and gentle hammer across the spine. This is called "tapping the swell out". 


At the end of the third page you will need to do a kettle stitch. Thread your needle between the section below your page, so a loop is created like this. Then pull your needle through the loop and pull the slack out to tighten. Continue as before, but from now on do a kettle stitch at the end of every section instead of a regular knot. 


Eventually you will run out of thread, since you only use an arm's length each time to prevent twisting and knotting (see: threading a needle). 
When the thread gets short, stop at the head or tail you are closest to and use a slipknot to add more thread. (See: adding a slipknot.)

Monday, June 25, 2012

busy !

Things have been busy lately- working on a photo album and learning how to put headbands on. Cased in my first rounded spine this week. Photos and instructions to come!
hint: when making a photo album fold over the edge of each page before sewing to create an added thickness between sheets so that when the photos are added the book doesn't become a hungry book with the pages thicker than the spine.

Wednesday, June 13, 2012

♥ crush ♥

I have a crush on these papers and I'm going to make end sheets out of them. 

boxes & color squares & country

Today we're making four more massive boxes and I'm picking bookcloth colors with J. for the upcoming A Wrecked Tangle Press book Of An Era. Tonight: first AWTP studio night at Paper Dragon Books. This should be interesting. In the meantime- listening to Loretta Lynn and Dolly Parton while folding some crisp white paper. 

Wednesday, June 6, 2012

hot gold & leather (happy accident)

This hot foil stamped book was a gift for  the amazing Abraham Hawkins. Godpseed, and thank you for the huge box of book supplies!


The leather circle was the result of a happy accident, which led to Gavin showing me how to put leather onto a cover. I love this and I want it on everything from now on. We did an outline of black foil stamping around it to press the leather in and really make the circle pop and the lines really crisp and clean. I also got to learn how to hot foil stamp an A (top first, then bottom without really any sideways pressure). I also learned that a little sawdust can be worked into glue to even out any scratches or kinks on a surface before being covered, as was the case with the leather circle. 

a little love for your mailbox

My press (A Wrecked Tangle Press)has started offering subscriptions. Here's the shakedown:
3 books once a month for 3 months. $50
I promise they'll be better than even an ebay package. 
www.awreckedtanglepress.com

freaking huge box!

The woes of box making magnified.

blood zebra


The book I've nicknamed Blood Zebra, monogramed for JH in hot foil stamping. 

At last- hot foil stamping!


After weeks of scheming I finally convinced Gavin to let me use the hot foil stamper. It makes an amazing sizzling noise when you cool it off on wet cotton before stamping, and steam comes off the roll. 


So the 3 things to remember are :
1 Heat
2 Pressure
3 Dwell


I didn't realize that each letter has a different way of being pressed in, so a J for example would be pressed more vertically where an H takes some side to side pressure as well. 


This was a gift for the lovely Jane Herro, and is my first monogrammed book. I've been calling it Blood Zebra because of a little thumb incident which I won't  post photos of because it's a little gnarly. 

Tuesday, June 5, 2012

sewing frame ♥


this machine is just beautiful.

tapes

Trimming up a book with tapes.