Showing posts with label how to do it. Show all posts

Friday, June 29, 2012

how to round a spine

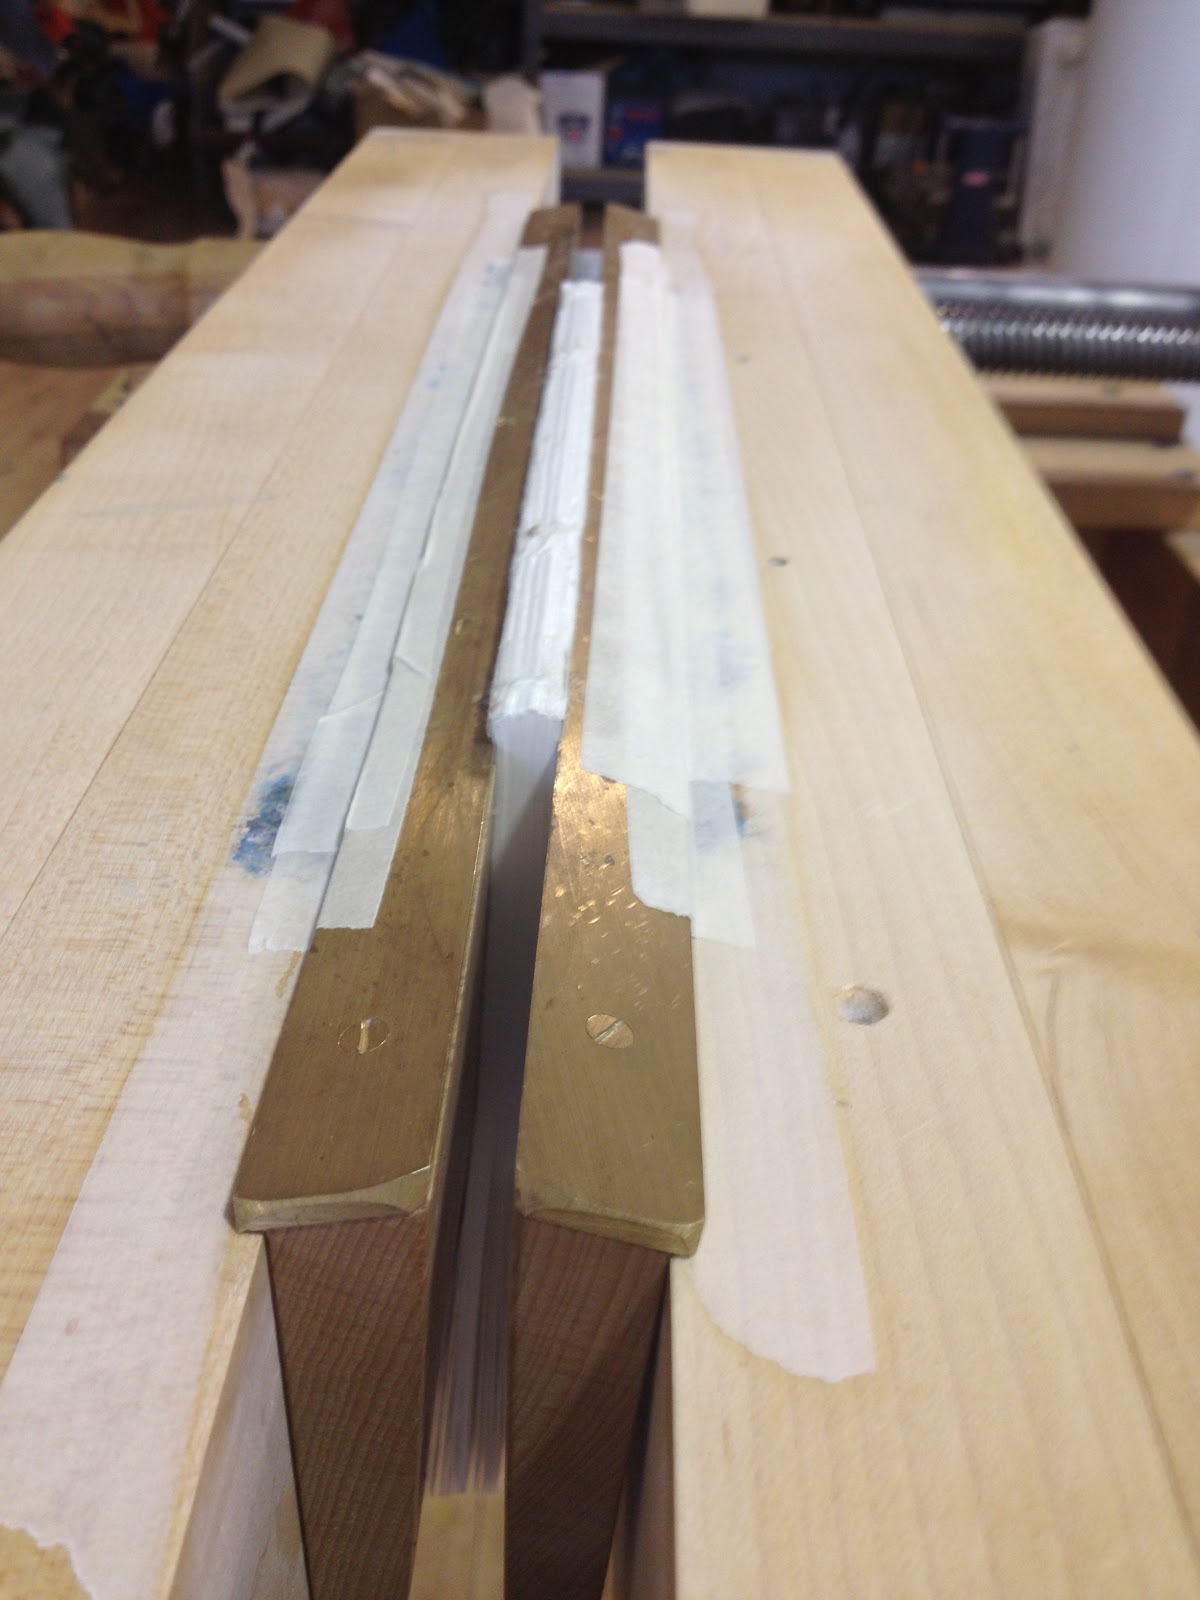
After sewing the book knock it up in a laying press and glue the spine but do not glue the sewing threads. After that has dried, place the book on a flat surface with the spine away from you and secure the book flat with one hand. Gently but firmly hammer the spine towards yourself, flipping the book over at intervals to create an evenly rounded spine. Then mark the joint for your boards (about 3mm in from the spine) and place the book in the laying press with the 3mm lip exposed. 


Using a backing hammer, begin at the side farthest from you and slowly, applying pressure, roll the hammer from the center of the spine to the edge. You want the hammer's edge to line up with the edge of the spine on each stroke. 


(roll from center to edge, lining up hammer/spine edges.) 


Turn and do the same thing in the other direction, rounding the spine from the center to the edge until both sides have been evenly rounded. Then using a gentle tapping motion even out the lines created by doing this. You should end up with a spine rounded over the sides to form a dome almost like a mushroom. 


Tuesday, June 26, 2012

how to make a photo album / sewing a kettle stitch


When making a photo album you have to account for the thickness of the pages with photos added. In order to do this you create a lip on the edge of each folio. Use dividers or a ruler to measure about 3/4 an inch from the edge of  the paper and fold that in to create a lip. 


Stack and bind the pages together as if each folded lip was a whole page. This way for every long page there is a short strip of paper adding a page thickness below it. Then when photos are added the book will still remain flat and not become a bulging or "hungry" book. When pressing the book during casing in, fill in the blank spaces/recesses with paper or light weight cardstock so that the height is maintained without creasing, etc. 


SEWING IT:


Cut a piece of cardstock or heavy paper to the height and width of a folio/page in your book and fold it in half to match the pages. Mark in from the head and the tail, leaving slightly more room on the tail side for trimming. Typically about 10mm at the head and 15 mm at the tail is good. Split the difference of those two points and make a mark at  the center. Then from there, find the middle between the center/head and the center/tail. Mark this and create two equidistant holes on either side for sewing. Use an awl to perforate all of the holes except for the very center, which you will not sew through. You should end up with six holes- head/tail and two sets of holes about 10 or 15 mm apart in between. Use this awl guide to perforate all your signatures, making sure to keep them oriented the same way so all the head/tail marks go in the same direction when you sew.


To sew, put a board down and sit slightly to the left of your book. It feels a little awkward at first but ultimately will give you better leverage and lead to faster sewing. Thread your needle and pull it through the first hole on your left, closest to you. Thread in and out until you get to the end. Place another page on top, and go in through the closest hole ( the farthest from you on the right). When you come out through the next hole you should be above the thread from the previous page. In a downward motion, thread the needle behind the existing thread and back into the next hole closest to you.Continue until you get to the end and tighten the threads taking in any slack, then tie a knot. Add another page on top, and continue across in the same method. Always take the string closest to the hole you're about to thread into,aka the direction you're sewing, not the one below the hole you came out of.  It should look like this:
right


wrong

     not this: 


After each page is added place a piece of binder's board over the book and gentle hammer across the spine. This is called "tapping the swell out". 


At the end of the third page you will need to do a kettle stitch. Thread your needle between the section below your page, so a loop is created like this. Then pull your needle through the loop and pull the slack out to tighten. Continue as before, but from now on do a kettle stitch at the end of every section instead of a regular knot. 


Eventually you will run out of thread, since you only use an arm's length each time to prevent twisting and knotting (see: threading a needle). 
When the thread gets short, stop at the head or tail you are closest to and use a slipknot to add more thread. (See: adding a slipknot.)

Wednesday, May 23, 2012

how to thread a needle so it won't become unthreaded

It helps to flatten the thread with a bonefolder first so it is narrow and can be easily slipped through the eye of the needle. Then just rethread through the shank and pull down, creating a slip-proof tension on the thread. 

how to do an all along stab sewn binding

First things first, glue the spine. It helps to put the paper between boards and apply pressure. Once that's dried (10-15 minutes later) mark the head and the tail, leaving more room for trimming on the tail so about 10 mm in from the head and maybe 15 from the tail. Split the difference between that, and mark the center of those two points, and again marking the middle between the center and the head/tail marks. Then you can use a dremel to drill those holes, and remove the boards used to glue and drill. After that it's easy. Cut a length of thread 3x the height of the book and begin sewing by going down through the middle hole. If you have an even number of holes, you can just pick one to be the middle. Go up through the next hole to the right, and back down, etc, until you reach the end. The same looping stitch is carried back to the left with the exception that you skip the middle hole. On the return from the left you will thread back through the center from below, making sure that your needle and thread end up on the other side of the previous thread, so that you can knot the two over the thread from when you skipped the middle.(This is show in  the bottom right square of the photograph). After you have knotted the two threads simply pull the needle and thread back through to the bottom and, if you're lucky, the knot will pull in with it and become invisible. Either way, you can trim off the ends and get ready to case in your all-along stab sewn book. 

Tuesday, May 22, 2012

Glue

When applying glue it's best to use a "stippling" motion. I think of it as being the repetitive dabbing motion used in sponge painting rather than the vertical strokes used to paint a fence. 


here are some photos to clarify


Don't:

Do:


Monday, May 21, 2012

leather rainbow

New leather organization system in progress, but what a lovely mess. 

Tuesday, May 15, 2012

how to tie a slipknot


I've previously cut my thread pretty long to avoid having to tie in new thread. It was interesting to find out that in England when you buy thread it comes in strips instead of on a spool, because an arm's length is less likely to tangle. I also like the fact that the slipknot can always be pulled through unless there's another thread stopping it- the lasso of books.