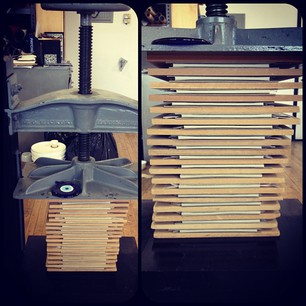
Lately I've been making hinged endsheets where the side that is glued down to the inside covers is fancy aka marbled etc, and the side attached to the text block is a plain paper that is the same on both sides, maybe even something with a little texture. This saves time because you don't have to wait for glued endsheets to dry in the press overnight, and you don't have to use as much fancy paper. It also looks really cool and kind of more mellow on the inside. Here is my current favorite color combo.
Thursday, January 3, 2013
Tuesday, December 25, 2012
diamondback snakeskin book
 I made this book by mounting a diamondback snakeskin to a marbled paper. I used straight PVA glue because the marbled paper is thin and expands a lot when wet. It helped to put wax paper on both sides of the paper before pressing it overnight in a nip press. The end result was a snakeskin overlayed onto a marbled paper with very little wrinkling. The skin actually came thin enough that it didn't need to be shaved before casing in and was able to be turned in over the foredge. On the sides where it was turned in (covering the rounded foredge) I did have to glue down the scales individually because they popped up. Otherwise a surprisingly easy book to do. The blue and gold marbled paper was meant to have a snake in the water vibe. The only problem I encountered was in getting the fabric of the quarter binding to lay evenly against the snakeskin/marbled paper piece I jutted up. What I ended up doing was layering a piece of plain paper beneath the marbled paper and then cutting out the outline of the skin so that both the thinner marbled paper and the skin glued to the top were flush with the fabric. You can see my instructions on how to do a quarter binding to learn the rest.
Friday, December 7, 2012
love the plough
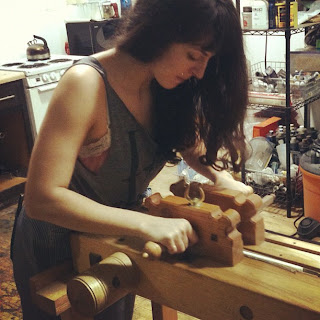
I've become a little spoiled getting to use the plough to even off the edges of books. It's a little intimidating at first but once you get the hang of it the smooth edge is addictive, and takes some of the pressure off of binding it perfectly. Basically you just have to mark what side you want trimmed, put the text block between boards that are ever so slightly bigger with the margin to be trimmed exposed on the side facing you, and line it up in the press with the spine side facing you to begin. (Trim the foredge last.) The hardest part is getting it in the press with the margin to be trimmed evenly exposed/not tilted at all, etc. Though I will admit, I still can only plough in one direction, unlike Gavin who zips back and forth and at twice my speed. Someday!
Friday, October 26, 2012
craquelle

To make craquelle you need to mix a paste that is a bit thicker than what you normally use to glue leather or combine with jade/pva. Paint it onto the leather in a stippling motion as if it were regular glue, but leave the clumps and uneven streaks. Then, blow-dry the leather until it is crispy and dry. Take a piece of totally dried leather with the paste still on it and slide it over the edge of a counter, like you would to get the wrinkles out of a dollar bill or crumpled paper. The pressure of sliding it across a ledge will cause veinlike cracks in the surface of the dried paste. Using a piece of cotton with dye on it quickly spread the color over the surface, keeping in mind that paste is water soluble so you need to be quick and not apply to much pressure or the paste will wash off and the color will blotch onto the surface instead of only sinking into the cracks. After that you want to blow dry it again until crispy and if you want to you can add another color on top (use lighter colors first). Take the fully dried piece of leather and wash it under running water until the pieces of paste have come off, then lay it over a larger piece of davey board. Using a mister/water spray can keep the leather wet while using a butter knife to scrape off the remaining paste. The end result should be a vein-like pattern of distinct and crisp lines of color on the otherwise untouched surface of the leather.
solo book
So I had a go at doing a book on my own without any help from Gavin. The rounding and backing could have been more even but it turned out okay, and for once there were no little errors when I hand tooled the cover with gold. This book was a journal/gift for Taylor McFadden. Bon Voyage!
Tuesday, October 16, 2012
Subscribe to:
Posts (Atom)


